
How to Crimp MC4 Solar Connectors
2022-09-16
How to Crimp MC4 Solar Connectors
Materials & Tools
Material
Make wires about 6″ (15 cm) long since for example
Place the pin’s metal fins in the jaws of your MC4 crimping tool. (Make sure all the wire strands make it inside the pin!)
Note: MC4 crimpers have different holes for different wire sizes (in mm2). Use the right hole for your wire size.
Crimp the pin to the wire by squeezing your MC4 crimper until it releases.
Tip: If your wire keeps slipping out of the pin, place the pin in the crimper and squeeze just enough until the handles lock, holding the pin in the jaws. Then insert the wire into the pin.
Test your crimp by giving the pin a good tug. The connection should hold!
Slide the end cap and compression sleeve over the pin.
Insert the male pin into the female connector until you hear a “click.” The MC4 solar connector is now connected to your wire!
Note: Double check that you’re inserting the male pin into the female connector. The connector body has a non-return clip inside — once it’s on it won’t come off!
Screw the end cap and compression sleeve on to the connector. Once you can’t screw any tighter by hand, use your MC4 connector tools to finish the job.
Make sure there’s no gap between the end cap and connector body. A tight connection will help keep water out.
Just like before, insert the stripped wire into the female pin.
Place the pin’s metal fins in your MC4 crimping tool and Crimp the pin to the wire.
Give the crimp a little tug test to make sure the connection is solid.
Slide the end cap and compression sleeve over the pin.
Insert the female pin into the male MC4 connector until you hear a “click.”
Screw the end cap on the MC4 connector body. Once again, MC4 connector tools help a lot here!
Tighten the cap until there isn’t any gap left.
To disconnect them, squeeze the male connector’s prongs until they release from the female connector. Then pull the connectors apart.
You can also use an MC4 assembly tool to disconnect MC4 connectors.
Clamp the assembly tool’s prongs over the male connector’s prongs. Then, with the tool in place, pull the connectors apart.
- MC4 solar connector kit
- Wire
Tool
- Wire cutters
- Wire stripper
- MC4 crimping tool
- MC4 connector tool
Step 1: Cut the Wire to Length
Use your wire cutters to cut your wire to length.Make wires about 6″ (15 cm) long since for example
Step 2: Strip the Wire
Grab your wire stripper and strip your wire about 1/2″ (1.3 cm) from the end. Repeat for as many wires as needed.Step 3: Crimp the Male Pin to the Wire
Important: The male metal pin goes with the female MC4 connector. Insert the stripped wire into the male pin.Place the pin’s metal fins in the jaws of your MC4 crimping tool. (Make sure all the wire strands make it inside the pin!)
Note: MC4 crimpers have different holes for different wire sizes (in mm2). Use the right hole for your wire size.
Crimp the pin to the wire by squeezing your MC4 crimper until it releases.
Tip: If your wire keeps slipping out of the pin, place the pin in the crimper and squeeze just enough until the handles lock, holding the pin in the jaws. Then insert the wire into the pin.
Test your crimp by giving the pin a good tug. The connection should hold!
Step 4: Insert the Male Pin into the Female MC4 Connector
Unscrew the end cap from the female MC4 connector. Remove it along with the compression sleeve.Slide the end cap and compression sleeve over the pin.
Insert the male pin into the female connector until you hear a “click.” The MC4 solar connector is now connected to your wire!
Note: Double check that you’re inserting the male pin into the female connector. The connector body has a non-return clip inside — once it’s on it won’t come off!
Screw the end cap and compression sleeve on to the connector. Once you can’t screw any tighter by hand, use your MC4 connector tools to finish the job.
Make sure there’s no gap between the end cap and connector body. A tight connection will help keep water out.
Step 5: Crimp the Female Pin to the Wire
Now we repeat the process to assemble a male MC4 connector. This time, we use the female pin.Just like before, insert the stripped wire into the female pin.
Place the pin’s metal fins in your MC4 crimping tool and Crimp the pin to the wire.
Give the crimp a little tug test to make sure the connection is solid.
Step 6: Insert the Female Pin into the Male MC4 Connector
Unscrew the end cap from the male MC4 connector and remove it along with the compression sleeve.Slide the end cap and compression sleeve over the pin.
Insert the female pin into the male MC4 connector until you hear a “click.”
Screw the end cap on the MC4 connector body. Once again, MC4 connector tools help a lot here!
Tighten the cap until there isn’t any gap left.
Step 7: Connect & Disconnect the MC4 Solar Connectors
To connect MC4 connectors, simply push the male and female connectors together until you hear a “click.” You’ll see the male connector’s prongs latch on to the body of the female connector.To disconnect them, squeeze the male connector’s prongs until they release from the female connector. Then pull the connectors apart.
You can also use an MC4 assembly tool to disconnect MC4 connectors.
Clamp the assembly tool’s prongs over the male connector’s prongs. Then, with the tool in place, pull the connectors apart.
 Reliable Connections for Outdoor Applications: JINH Waterproof Aviation Plugs
 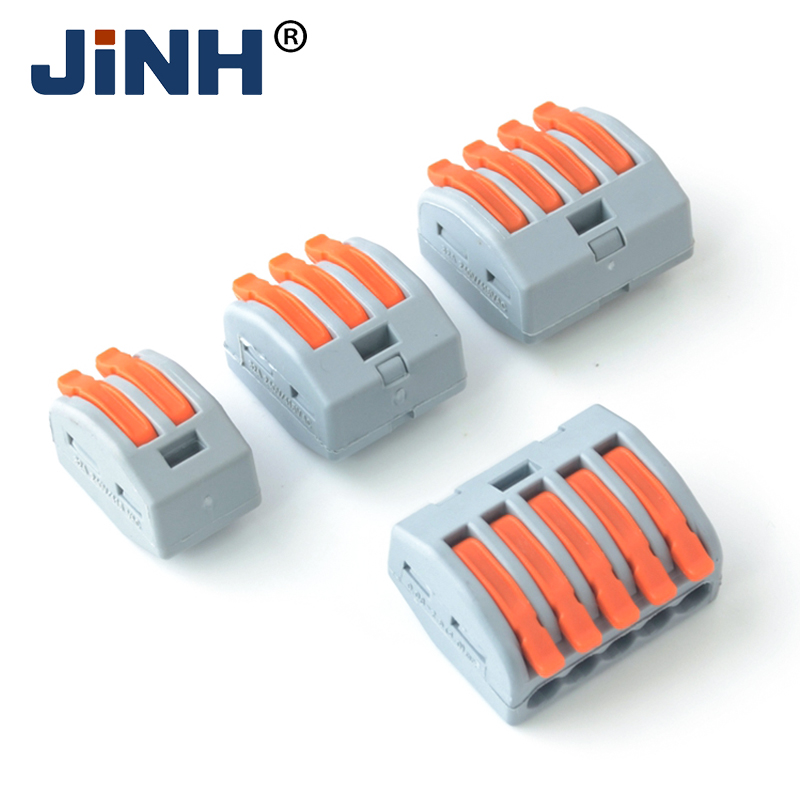 Fast and Flexible Wire Connections: JINH Lever Wire Connectors for Easy Wiring
  Better Protection for Outdoor Wiring: JINH Waterproof Junction Boxes for Reliable Electrical Connections
 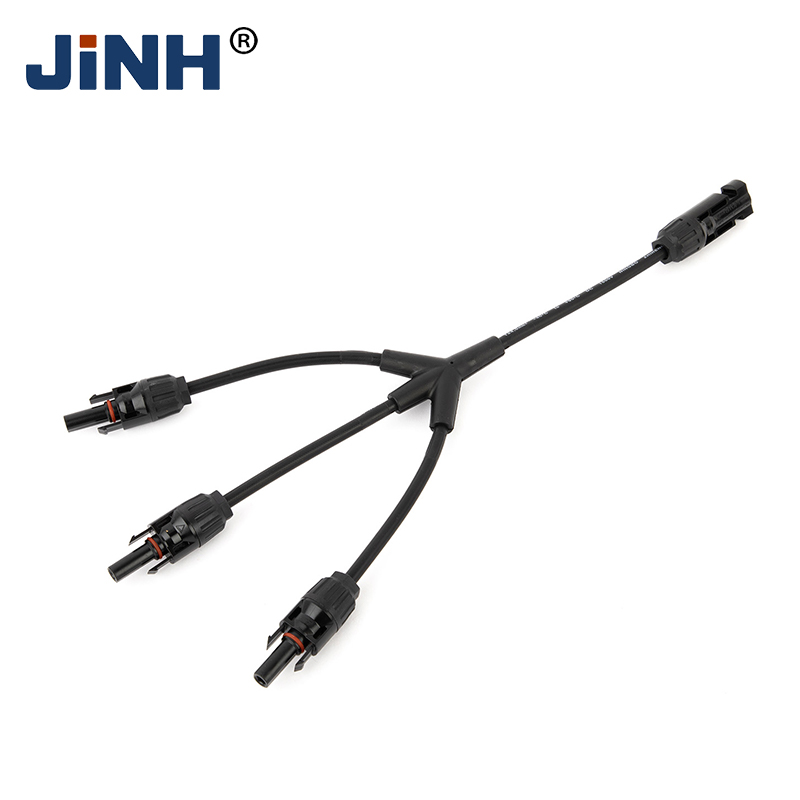 Simplify Solar Wiring with JINH MC4-Y1 Solar Branch Connectors
 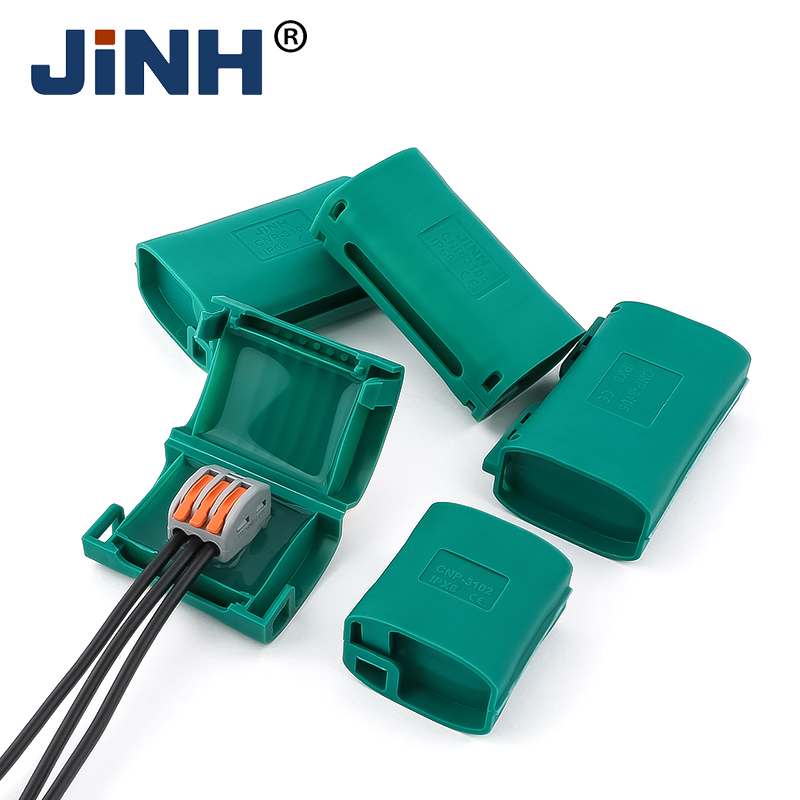 Protect Electrical Connections from Water Damage with JINH Gel Waterproof Junction Box
  Reliable Connections for Solar Power Wiring
  Faster Wiring, Safer Connections – JINH Lever Wire Connectors for Modern Electrical Projects
  Waterproof Protection with Faster Wiring for Better Electrical Connections
 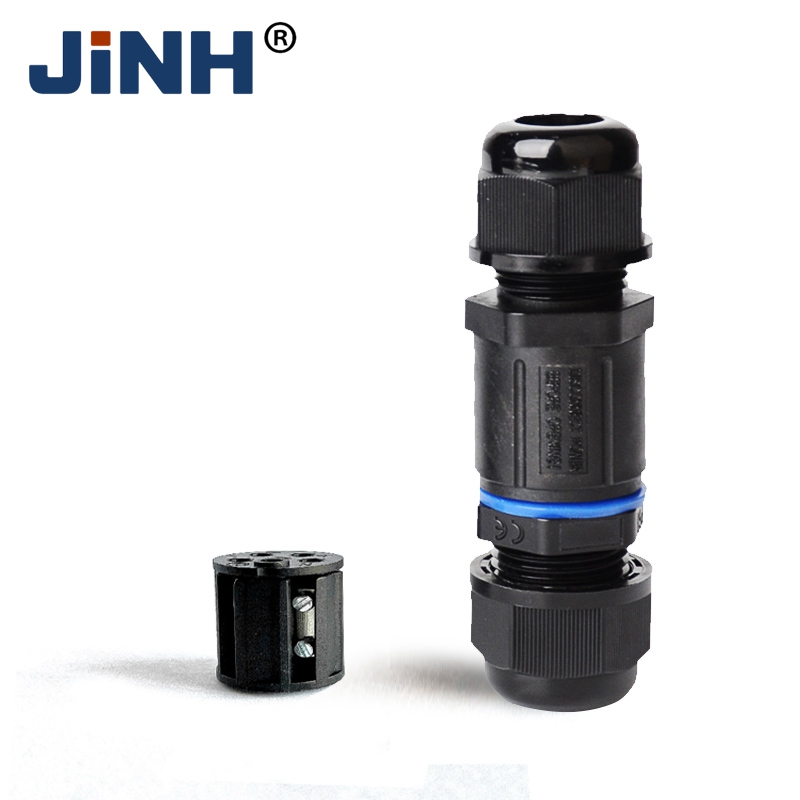 Waterproof Cable Connectors for Reliable Outdoor Electrical Connections
  DIN Rail Distribution Blocks for Safe, Efficient, and Reliable Power Distribution
 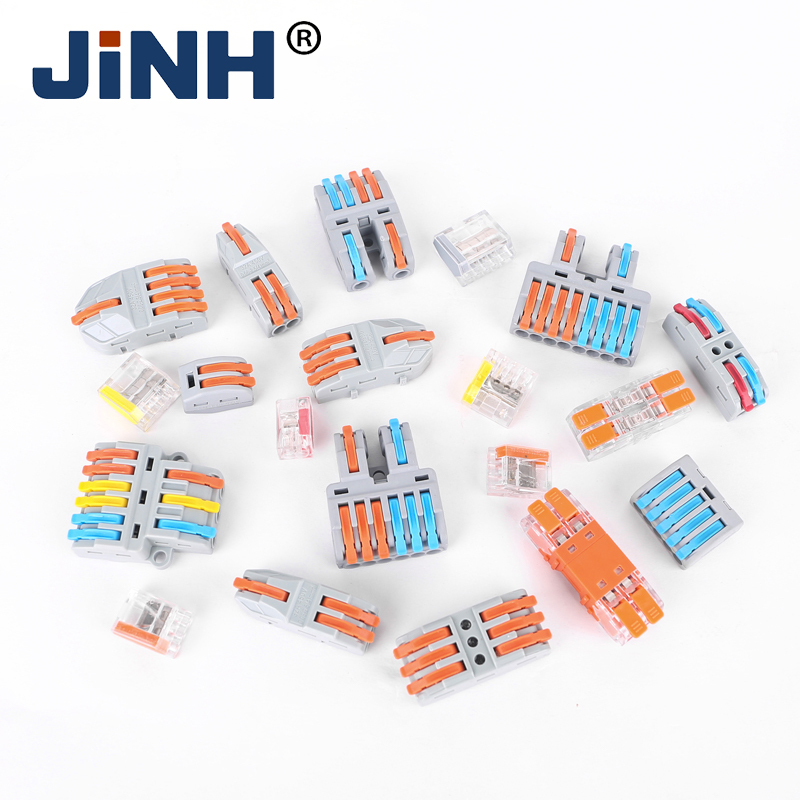 Fast and Reliable Wire Connections with JINH Lever Wire Connectors
  Waterproof Aviation Connectors Built for Harsh Outdoor Environments
 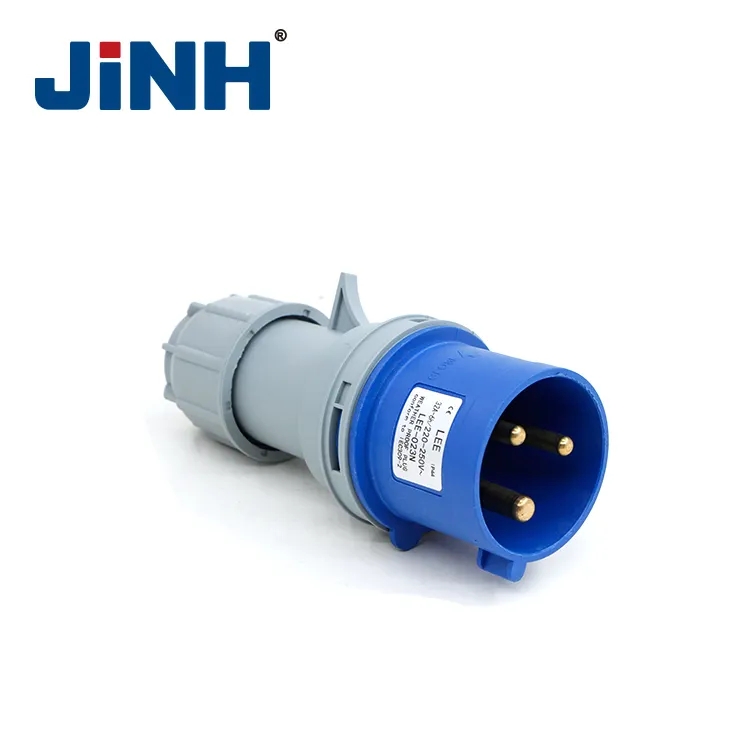 Why IEC 60309 Industrial Plugs Have Become the Preferred Choice for Reliable Industrial Power Connections
  How Insulated Terminals Improve Electrical Connection Safety and Reliability: A Complete Selection Guide
  Powering the Future: Converting Every Ray into Stable Performance
  The Invisible Shield for Outdoor Engineering: How JINH Waterproof Connectors Redefine Reliability
  Safe, Seamless, and Sustained: Demanding More from Your Industrial Electrical Connectivity
  Engineering the Invisible Shield: How JINH CNP Series Redefines Waterproof Integrity
  Premium CMK Terminal Blocks | Industrial Grade Flame Retardant & High Temp Resistant, High Conductivity Quick Install Terminal for Control Cabinet
  BREAKTHROUGH! IP68 Waterproof Junction Box CNP Series — Solve Outdoor/Buried Wiring Problems Once and for All!